The following steps are taken when setting up DDNS on our device in conjunction with NO-IP (free version).
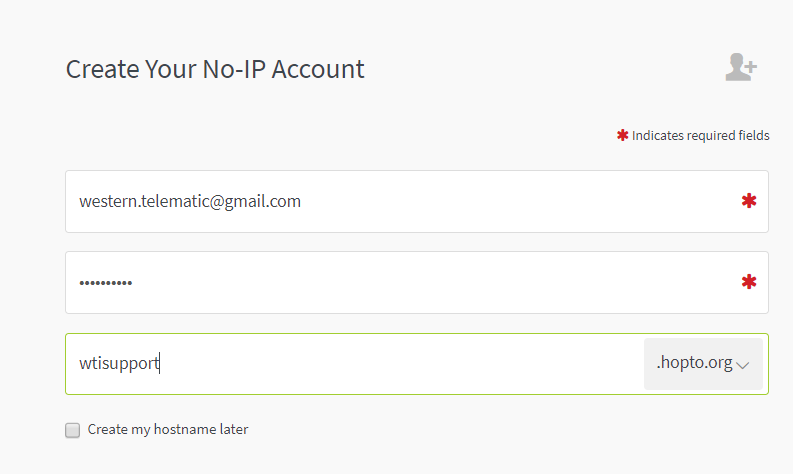
Go to noip.com and create your account:
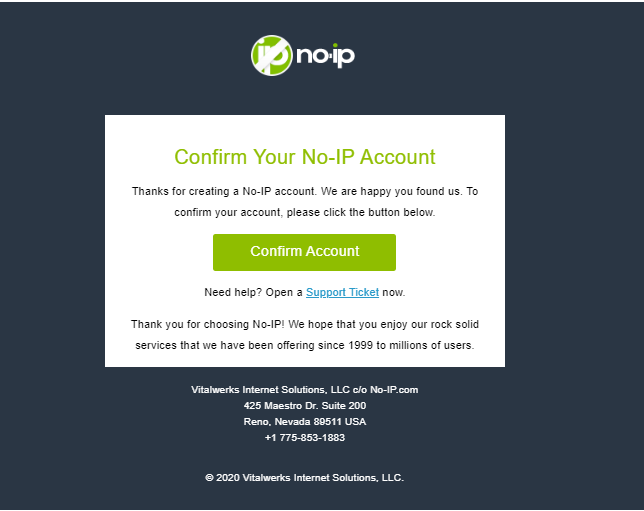
After following the steps No-IP requires they will ask you to confirm your account. Please make sure to check your email to confirm:
Note: The example below demonstrates Dynamic DNS (DDNS) configuration for the eth0 interface.
If you wish to configure DDNS for the cellular interface, issue the /CELL command and configure DDNS within that menu instead.
If you are using the secondary Ethernet interface, issue the /N1 command and configure DDNS for that interface accordingly.
Next login to your WTI device and issue a "/n".
Select the option for DNS Services; a submenu will open, select option 2 for DDNS services.
Fill out the required fields:
DDNS SERVICES: [eth0] IPv4
- Services: No-IP
- Host Name: wtisupport.hopto.org
- Username: wtisupport
- Password: (defined)
- Max update times: Every 1 Hour
Option 1 should be set to No-IP as the service
Option 2,3,& 4: The hostname, username and password must match those you created on the No-IP website. Input the matching corresponding information in our device.
Option 5: Max update times. Set this to the desired value. (by default this is set to 1 hour)
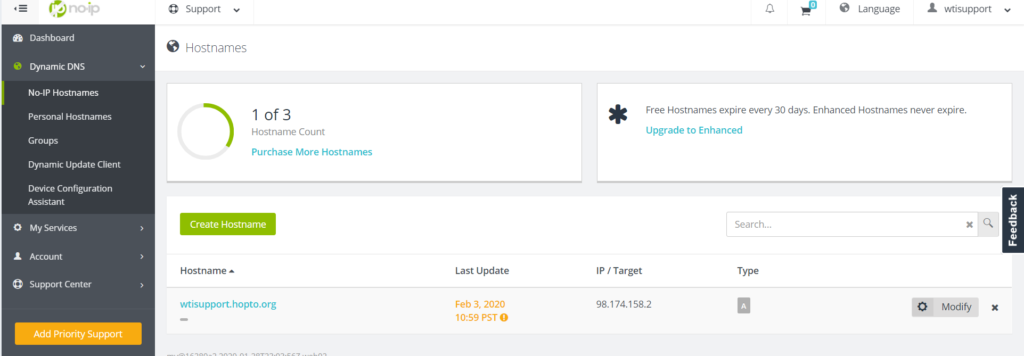
Verify that the WTI device is communicating with the NO-IP DDNS service by going to there website and selecting the Dynamic DNS from the left hand toolbar, then No-IP Hostnames. The hostname should now reflect the updated IP/Target.